

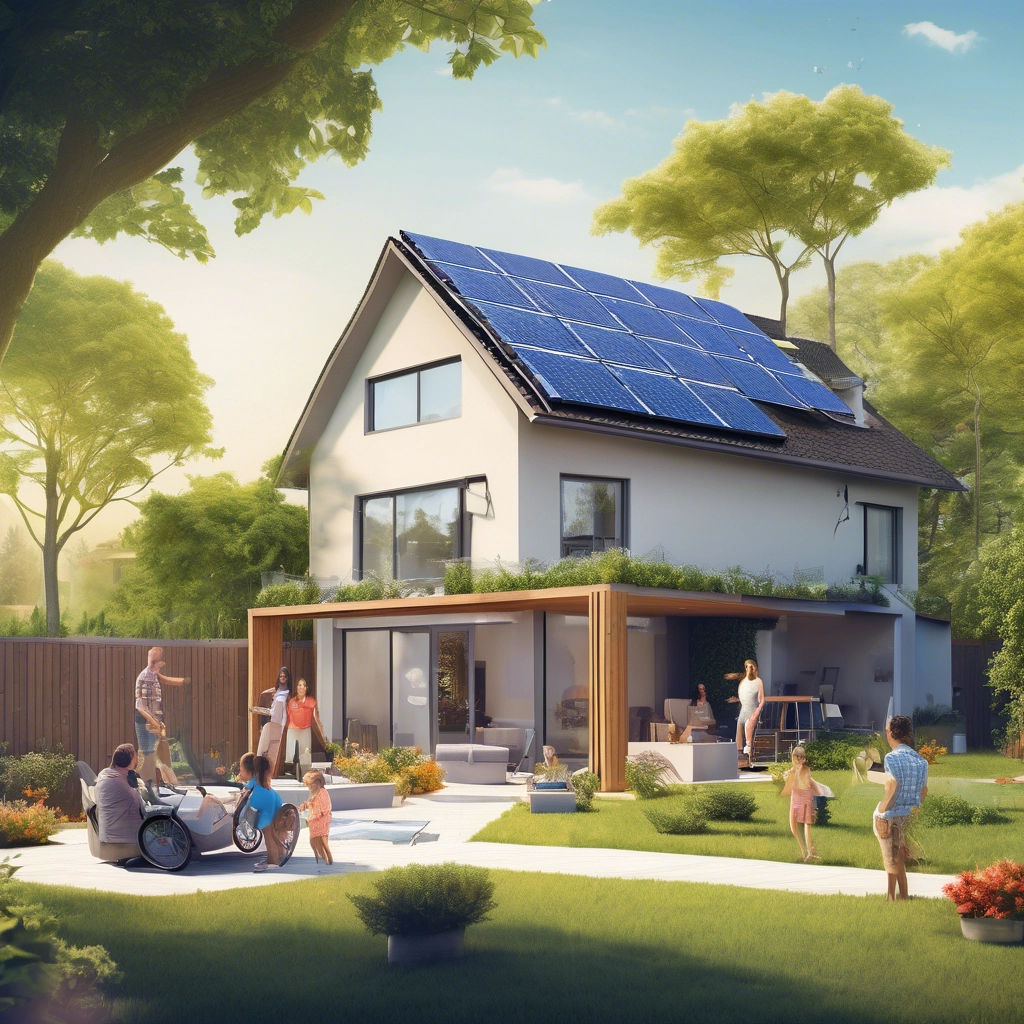
Installing a solar power system is an excellent way to reduce energy costs, increase energy independence, and contribute to a sustainable future. Whether you’re a homeowner looking to go solar or a professional installer, this step-by-step guide will walk you through the process of installing a solar power system.
Why Install a Solar Power System?
Before diving into the installation process, let’s briefly discuss why solar energy is worth considering:
- Lower Energy Bills: Solar panels generate free electricity from the sun, reducing your reliance on grid power.
- Eco-Friendly: Solar energy is clean and renewable, reducing your carbon footprint.
- Energy Independence: Generate your power and protect yourself from rising energy costs.
- Government Incentives: Many countries offer tax credits, rebates, and incentives for solar installations.
Step-by-Step Guide to Installing a Solar Power System
1. Assess Your Energy Needs
Before installing a solar system, determine your energy consumption:
- Review your electricity bills to understand your average monthly usage (in kWh).
- Identify peak usage times and any energy-saving opportunities.
- Calculate the size of the solar system needed to meet your energy demands.
Pro Tip: Use online solar calculators or consult a professional to estimate your system size accurately.
2. Evaluate Your Site’s Solar Potential
Not all locations are ideal for solar installations. Assess your site’s solar potential by considering:
- Sunlight Exposure: Ensure your roof or installation area receives ample sunlight (at least 4-6 hours of direct sunlight daily).
- Shading: Avoid areas shaded by trees, buildings, or other obstructions.
- Roof Condition: Check the age, material, and structural integrity of your roof. A strong, durable roof is essential for supporting solar panels.
Pro Tip: Use tools like Google’s Project Sunroof or consult a solar installer for a detailed site assessment.
3. Choose the Right Solar Equipment
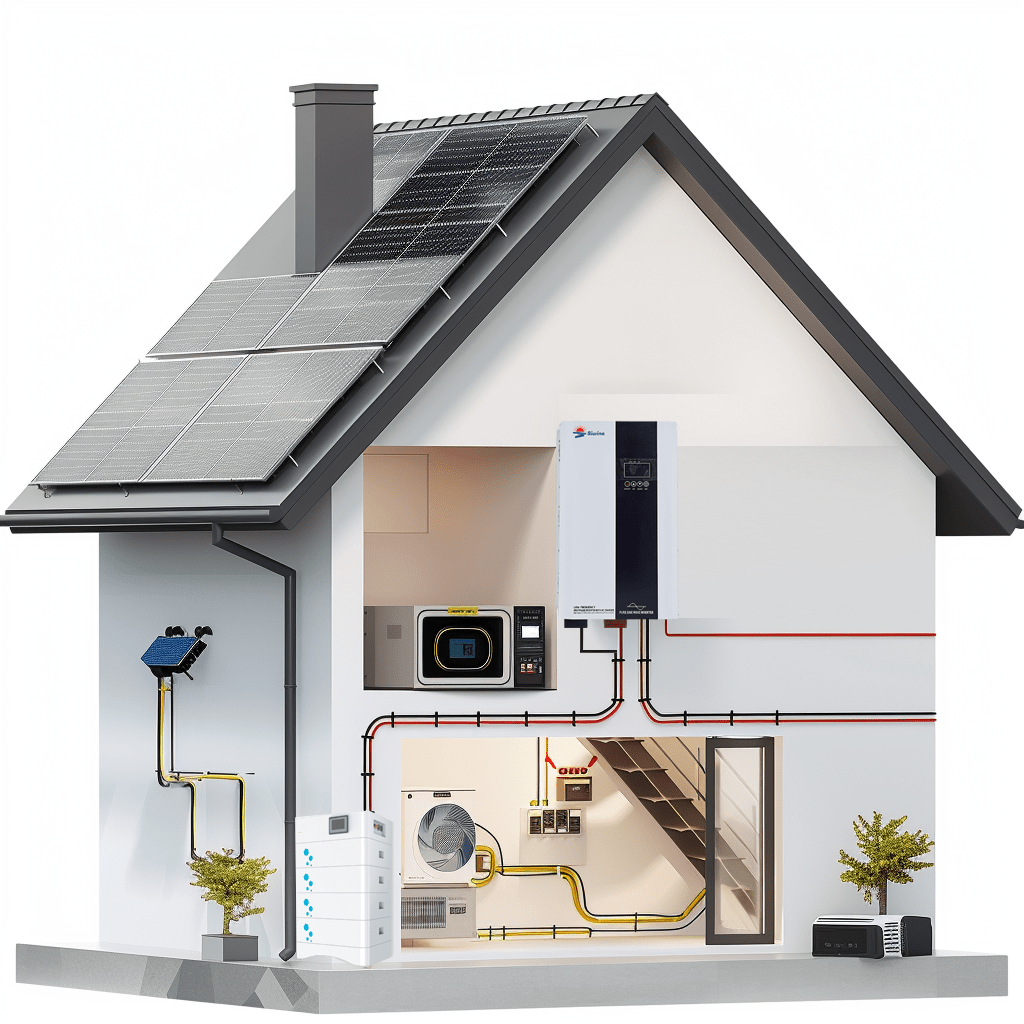
Selecting high-quality components is crucial for an efficient and long-lasting solar system. Key components include:
- Solar Panels: Monocrystalline, polycrystalline, or thin-film panels, depending on your budget and space.
- Inverter: Converts DC electricity from the panels into AC electricity for home use. Options include string inverters, microinverters, On-grid inverters, hybrid inverters, off-grid inverters and power optimizers.
- Mounting System: Ensures panels are securely attached to your roof or ground.
- Battery Storage (Optional): Stores excess energy for use during nighttime or power outages.
Pro Tip: Research reputable brands and read customer reviews to ensure reliability and performance.
How to Choose the Right Inverter Brand?
- Residential Projects: Choose cost-effective brands with excellent after-sales service, such as GoodWe, Growatt and swina,
- Commercial Projects: Choose brands with advanced technology and high reliability, such as Huawei, Sungrow, and SMA.
- High-End Projects: Choose technologically leading brands with superior quality, such as SolarEdge, Enphase, and Fronius.
Brand Name Country/Region Product Types Key Features Advantages Market Positioning SWINA China Hybrid inverters, Off-grid inverters,solar power system High efficiency, modular design, smart monitoring system Cost-effective, excellent after-sales service, suitable for small to medium projects Residential, small to medium commercial projects Huawei China Grid-tied inverters, Energy storage inverters Smart string design, high conversion efficiency, AI optimization support Global leader, advanced technology, high reliability Large commercial, and industrial projects Sungrow China Grid-tied inverters, Energy storage inverters High efficiency, wide voltage range, supports multi-scenario applications Large global market share, diverse product line, cost-effective Residential, commercial, and industrial projects SMA Germany Grid-tied inverters, Off-grid inverters High reliability, durable, supports multiple battery types European market leader, superior quality, suitable for high-end projects High-end residential, and commercial projects Fronius Austria Grid-tied inverters, Energy storage inverters High efficiency, modular design, supports smart energy management Well-known European brand, advanced technology, excellent after-sales service Residential, and commercial projects GoodWe China Grid-tied inverters, Energy storage inverters High efficiency, supports multiple battery compatibility, smart monitoring system Cost-effective, diverse product line, suitable for small to medium projects Residential, small to medium commercial projects Growatt China Grid-tied inverters, Energy storage inverters High efficiency, modular design, supports smart energy management Large global market share, cost-effective, excellent after-sales service Residential, and commercial projects SolarEdge Israel Grid-tied inverters, Power optimizers Module-level power electronics (MLPE) technology, supports individual panel optimization Technologically advanced, suitable for complex installations, highly efficient and reliable High-end residential, and commercial projects Enphase USA Microinverters, Energy storage systems Module-level power electronics (MLPE) technology, supports individual panel optimization A global leader in microinverters, suitable for complex installations High-end residential, and commercial projects Delta Taiwan, China Grid-tied inverters, Energy storage inverters High efficiency, supports multiple battery compatibility, smart monitoring system Globally renowned brand, advanced technology, high reliability Residential, commercial, and industrial projects
4. Obtain Permits and Approvals
Solar installations typically require permits and approvals from local authorities. Steps include:
- Submit system plans and specifications to your local building department.
- Obtain electrical and structural permits.
- Ensure compliance with local zoning laws and homeowners’ association (HOA) rules.
Pro Tip: Work with a licensed solar installer who can handle the permitting process for you.
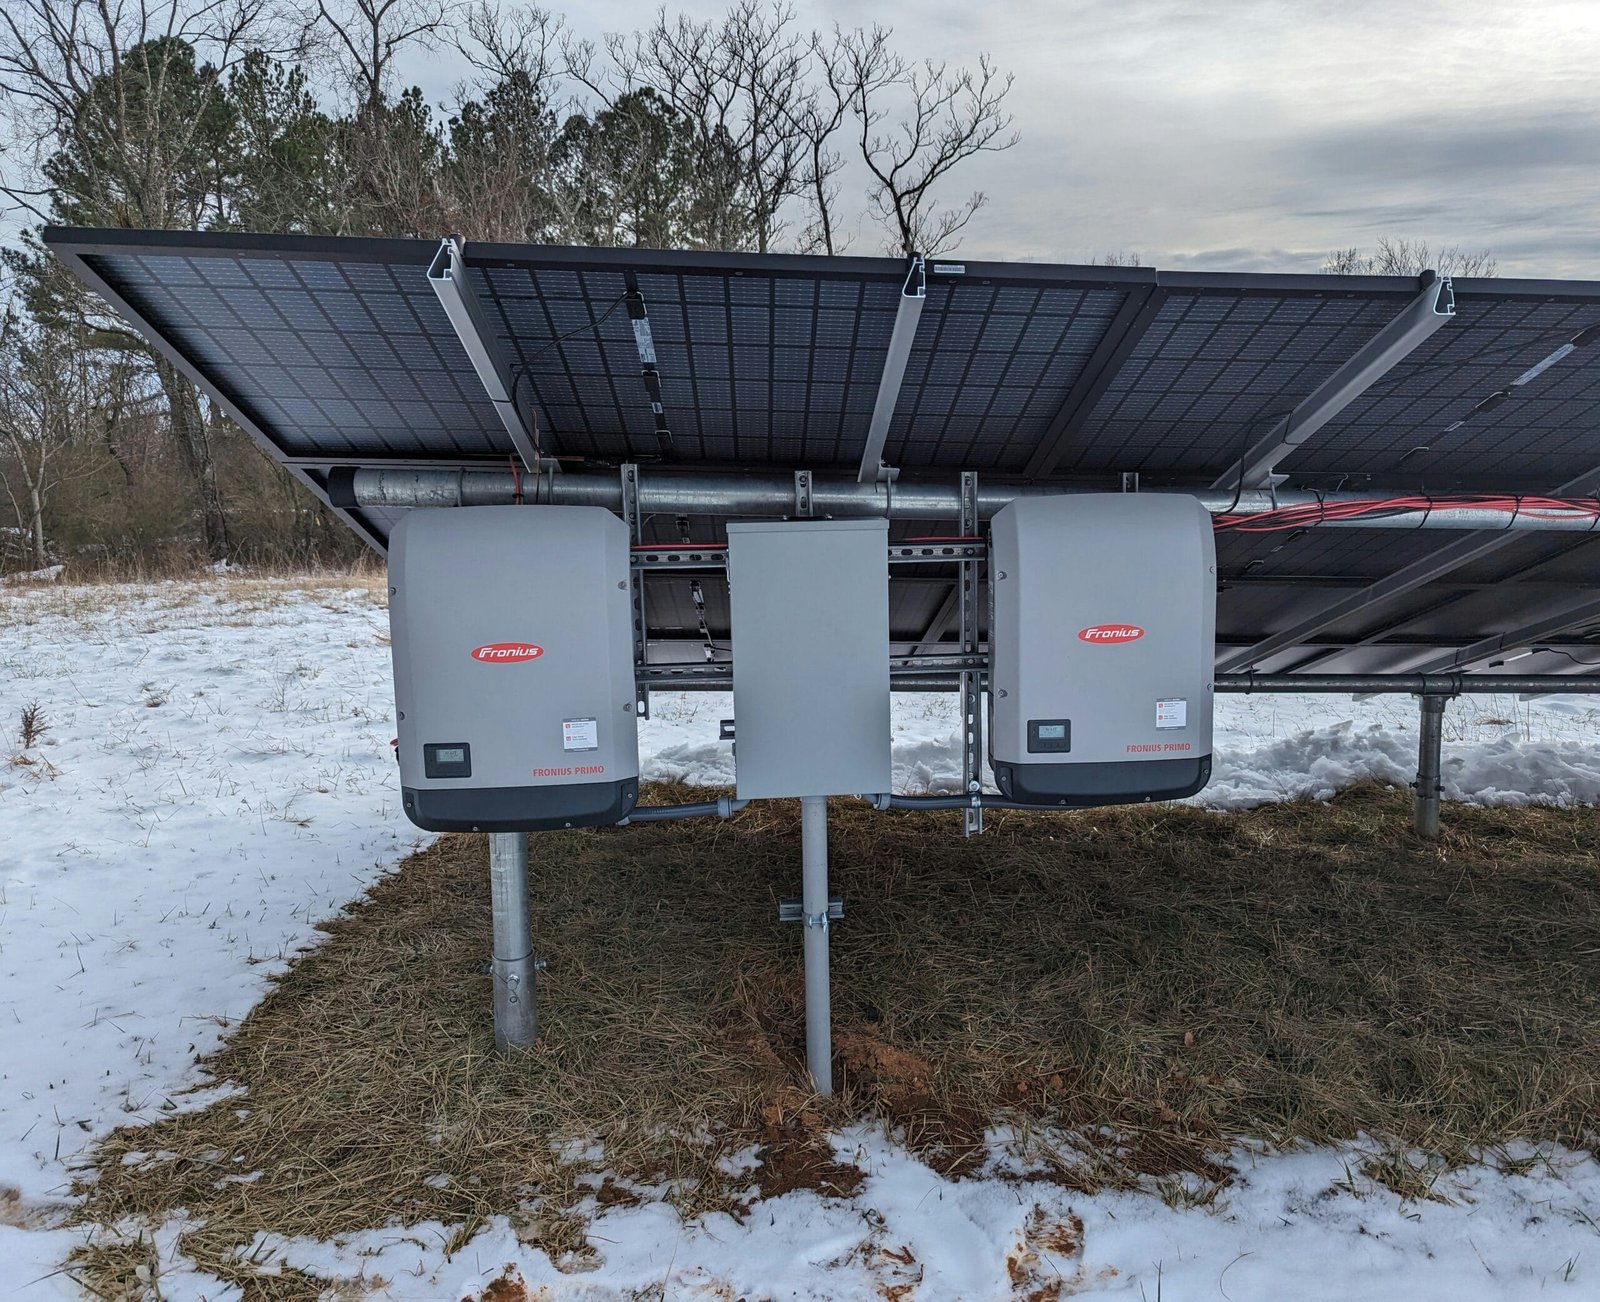
5. Install the Solar Panels
Once permits are secured, it’s time to install the system. Here’s how:
- Mount the Racking System: Secure the mounting hardware to your roof or ground structure.
- Install the Solar Panels: Attach the panels to the mounting system, ensuring proper alignment and spacing.
- Connect the Wiring: Link the panels to the inverter and electrical panel using appropriate wiring and connectors.
- Install the Inverter: Place the inverter in a shaded, well-ventilated area near your electrical panel.
- Set Up Battery Storage (if applicable): Connect the battery system to store excess energy.
Pro Tip: Always follow manufacturer guidelines and safety protocols during installation.
6. Connect to the Grid (Grid-Tied Systems)
For grid-tied systems, you’ll need to connect your solar system to the utility grid:
- Your utility company will inspect the system and install a net meter to track energy production and consumption.
- Once approved, your system will be activated, and you can start generating solar power.
Pro Tip: Check if your utility offers net metering, which allows you to earn credits for excess energy fed back into the grid.
7. Test and Monitor the System
After installation, test the system to ensure it’s functioning correctly:
- Verify that the inverter is producing power and feeding it into your home or the grid.
- Monitor energy production using the inverter’s display or a dedicated monitoring app.
- Address any issues promptly to maximize system performance.
Pro Tip: Regularly clean your panels and inspect the system for damage or wear.
Benefits of Professional Installation
While DIY solar installations are possible, hiring a professional installer offers several advantages:
- Expertise: Professionals ensure the system is designed and installed correctly.
- Safety: Solar installation involves electrical work and roof access, which can be hazardous.
- Warranty Protection: Many manufacturers require professional installation to validate warranties.
Conclusion
Installing a solar power system is a rewarding investment that can save you money, reduce your environmental impact, and provide energy independence. By following this step-by-step guide, you can ensure a smooth and successful installation process. Whether you’re a homeowner or a professional installer, understanding the basics of solar installation is key to harnessing the power of the sun.
Ready to go solar? Contact our team of experts today for a free solar consultation and start your journey toward clean, renewable energy!
