

DIY Off-Grid Solar System Installation: Step-by-Step Guide and Power Calculation Methods
As global demand for renewable energy grows, off-grid solar systems are becoming an increasingly popular choice for households and businesses. Whether to address power shortages or achieve energy independence, DIY off-grid solar system installation is an economical and sustainable solution. This article provides importers and distributors with a detailed installation guide, power calculation methods, and advice on selecting charge controllers to help you better serve your customers and enhance your business value.
Off-Grid Solar System Installation: Step-by-Step Guide
1. Planning and Design
Before installation, clarify the purpose and requirements of the system. Consider the following questions:
- Will the system be used for residential, commercial, or industrial purposes?
- What appliances need to be powered?
- What is the installation location and available space?
2. Calculate Energy Requirements
Determining the system’s energy needs is a critical step in designing an off-grid solar system. Here’s how to calculate it:
- List all appliances: Include power rating (W) and usage time (hours).
- Calculate daily energy consumption: Power × Usage time = Daily energy consumption (Wh).
- Account for system losses: Typically add 20%-30% redundancy to account for inverter and wiring losses.
3. Select Inverter and Battery
- Inverter selection: Choose an inverter based on total load power and surge power requirements. Ensure the inverter’s output power meets peak load demands.
- Battery selection: Calculate battery capacity based on daily energy consumption and backup days (usually 2-3 days). For example, if daily consumption is 5 kWh and backup is 3 days, a 15 kWh battery capacity is required.
4. Install Solar Panels
- Choose a location with ample sunlight and no shading.
- Secure solar panels using mounts and ensure their orientation and tilt angle suit local sunlight conditions.
- Connect panels in series or parallel to meet system voltage and current requirements.
5. Connect Inverter and Battery
- Connect the battery to the inverter’s DC input.
- Connect the inverter’s AC output to the distribution box to power appliances.
6. System Testing and Commissioning
- Check all connections for correctness and stability.
- Start the system and test its performance to ensure all devices operate normally.
How to Calculate the Power Requirements for Inverters, Batteries, and Solar Panels to Design Off-Grid Solar Systems?
When designing an off-grid solar system, accurately calculating the power requirements for inverters, batteries, and solar panels is crucial to ensuring efficient system performance. Below is a detailed calculation method to help you provide precise solutions for your customers.
1. Calculating Load Power and Energy Consumption
Steps:
- List All Appliances: Include the power rating (W) and usage time (hours).
- For example:
- Light bulb: 10W × 5 hours = 50Wh
- Refrigerator: 100W × 24 hours = 2400Wh
- TV: 50W × 4 hours = 200Wh
- For example:
- Calculate Daily Total Energy Consumption: Add up the energy consumption of all devices.
- For example: 50Wh + 2400Wh + 200Wh = 2650Wh (2.65 kWh)
- Account for System Losses: Add 20%-30% redundancy to account for inverter and wiring losses.
- For example: 2650Wh × 1.3 = 3445Wh (3.445 kWh)
2. Determining Inverter Power
Steps:
- Calculate Total Load Power: Add up the power ratings of all devices.
- For example: Light bulb 10W + Refrigerator 100W + TV 50W = 160W
- Consider Peak Power: Some devices (e.g., refrigerators, water pumps) require higher power during startup.
- For example: Refrigerator startup power is 300W, so total peak power = 160W – 100W + 300W = 360W
- Select an Inverter: The inverter’s rated power should be slightly higher than the total peak power.
- For example: Choose a 500W inverter to meet the 360W peak demand.
3. Calculating Battery Capacity
Steps:
- Determine Backup Days: Typically 2-3 days to account for cloudy or rainy weather.
- For example: Backup days = 3 days.
- Calculate Total Energy Consumption: Daily energy consumption × Backup days.
- For example: 3445Wh × 3 = 10335Wh (10.335 kWh)
- Account for Battery Depth of Discharge (DoD): Lead-acid batteries typically have a DoD of 50%, while lithium batteries have 80%.
- For example: Using lead-acid batteries, battery capacity = 10335Wh ÷ 0.5 = 20670Wh (20.67 kWh)
- Select Battery Voltage: Common voltages are 12V, 24V, or 48V.
- For example: Choose a 24V system, so battery capacity = 20670Wh ÷ 24V = 861Ah
- Select Batteries: Choose batteries with a capacity close to the calculated value, such as 24V 900Ah.
4. Calculating Solar Panel Power
Steps:
- Determine Daily Power Generation Requirement: Total energy consumption ÷ System efficiency (typically 80%-90%).
- For example: 3445Wh ÷ 0.9 = 3828Wh (3.828 kWh)
- Determine Local Sunlight Hours: Check the average sunlight hours based on geographic location.
- For example: Local average sunlight hours = 4 hours.
- Calculate Solar Panel Power: Daily power generation requirement ÷ Sunlight hours.
- For example: 3828Wh ÷ 4h = 957W
- Select Solar Panels: Choose solar panels with a power rating close to the calculated value, such as 3 × 320W panels (total power = 960W).
5. Choosing a Charge Controller
Steps:
- Calculate Total Solar Panel Current: Total solar panel power ÷ System voltage.
- For example: 960W ÷ 24V = 40A
- Select a Charge Controller: The controller’s rated current should be slightly higher than the total solar panel current.
- For example: Choose a 50A MPPT charge controller.
Example Summary
- Daily Energy Consumption: 3445Wh
- Inverter Power: 500W
- Battery Capacity: 24V 900Ah
- Solar Panel Power: 960W (3 × 320W)
- Charge Controller: 50A MPPT
Differences Between MPPT and PWM Charge Controllers
1. MPPT (Maximum Power Point Tracking) Charge Controllers
- Working principle: Dynamically adjust voltage and current to keep solar panels operating at their maximum power point.
- Advantages: High efficiency (up to 98%), suitable for high-power systems, and performs well in low-temperature or low-light conditions.
- Disadvantages: Higher cost.
2. PWM (Pulse Width Modulation) Charge Controllers
- Working principle: Adjust the solar panel voltage to match the battery level through switching control.
- Advantages: Lower cost, suitable for low-power systems.
- Disadvantages: Lower efficiency (around 70%-80%) and poorer performance in low-light conditions.

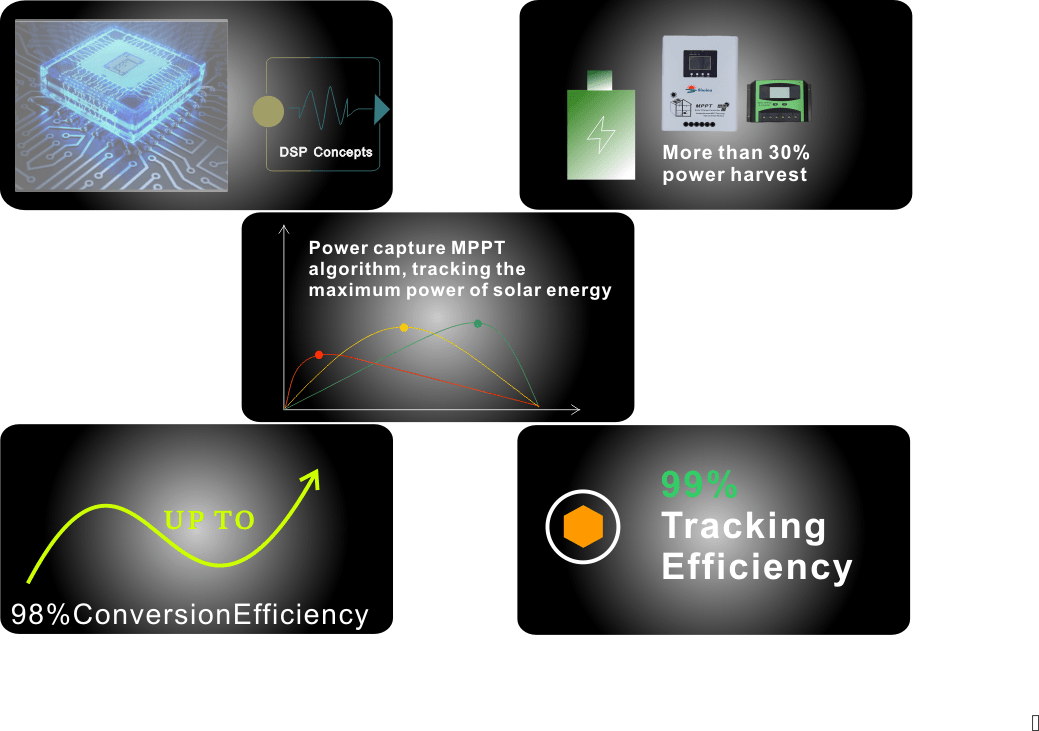
Harnessing the full potential of solar energy: the swina MPPT solar controller
3. How to Choose?
- MPPT: Suitable for high-power off-grid systems, especially in complex weather conditions requiring efficient charging.
- PWM: Suitable for low-budget, low-power systems, such as small households or basic power supply in remote areas.
4. Integration with Inverters
The integration of charge controllers and inverters is critical for off-grid systems. MPPT controllers significantly improve system efficiency and reduce energy loss, while PWM controllers are better suited for simple, low-cost applications.
Conclusion
DIY off-grid solar system installation not only helps customers achieve energy independence but also creates new business opportunities for importers and distributors. By providing detailed installation guides, power calculation methods, and advice on selecting charge controllers, you can better support your customers and enhance your brand value.
If you are looking for high-quality off-grid solar components (such as inverters, batteries, and charge controllers), feel free to contact us. We offer 24/7 online support to ensure a quick response to your needs, providing efficient and reliable technical solutions.
